import { NextResponse } from "next/server";
import prisma from "../../lib/db";
interface PaymentWebhookPayload {
id: string;
merchant_id: string;
currency: string;
amount: number;
amount_usd: number;
tx_hash: string;
address: string;
sender_address: string;
status: string;
network: string;
payment_link_id: string;
checkout_session_id: string;
is_paid_to_merchant: boolean;
confirmed_at: string | null;
created_at: string;
expires_at: string;
webhook_secret: string;
Webhook: string;
txID: string;
hash: string;
timestamp: string;
email: string;
}
export async function POST(request: Request) {
try {
// Verify webhook signature
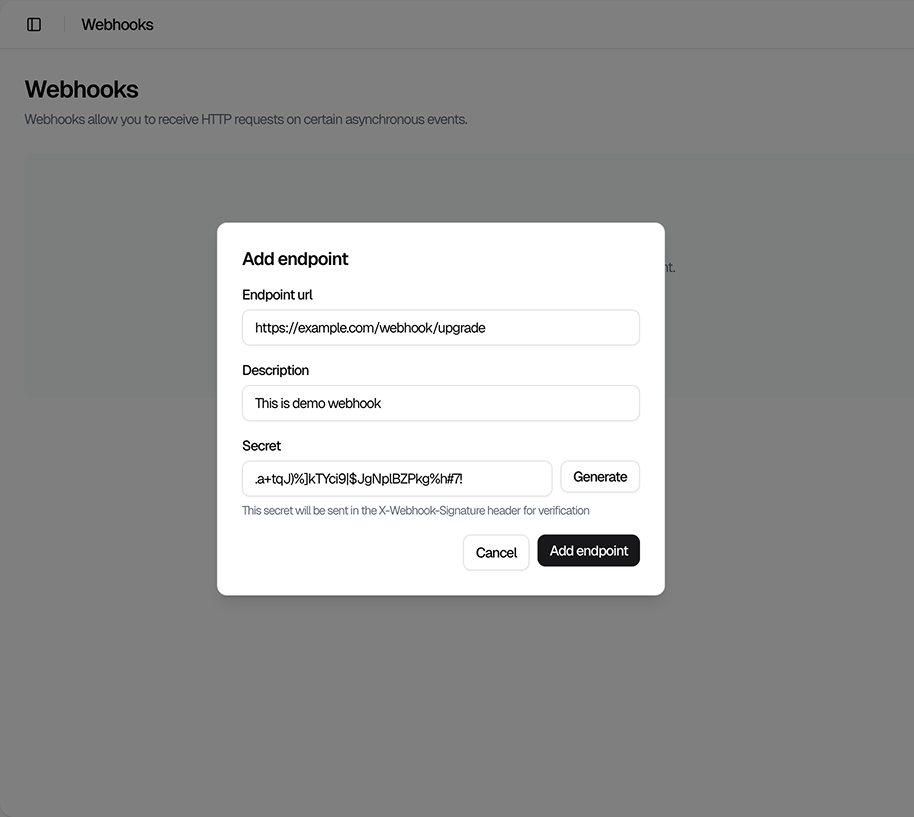
const signature = request.headers.get("X-Webhook-Signature");
const webhookSecret = process.env.WEBHOOK_SECRET;
if (!signature || !webhookSecret || signature !== webhookSecret) {
return NextResponse.json(
{ error: "Invalid webhook signature" },
{ status: 401 }
);
}
const payload = await request.json() as PaymentWebhookPayload;
// Find the user by email and update their status to Pro
const user = await prisma.user.update({
where: { email: payload.email },
data: {
isPro: true,
},
});
if (!user) {
return NextResponse.json({ error: "User not found" }, { status: 404 });
}
return NextResponse.json({
success: true,
message: "User upgraded to Pro successfully",
paymentId: payload.id
});
} catch (error) {
console.error("Error processing webhook:", error);
return NextResponse.json(
{ error: "Failed to process webhook" },
{ status: 500 }
);
}
}
.png)
.png)